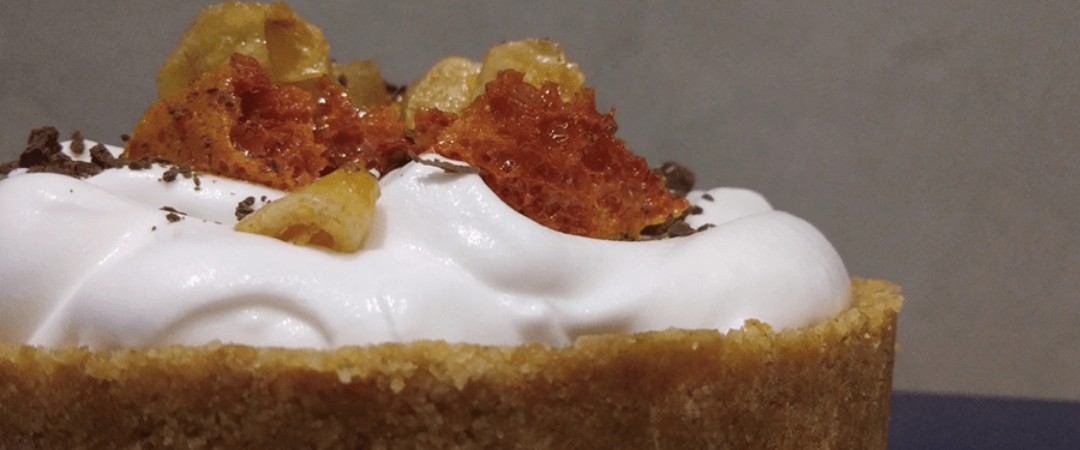
Banoffee Pie
by Anjelica | 24 Aug, 2021

When I flew back to Manila for a vacation, I had planned to bake birthday cakes for my mom, my two nephews, and myself. Our birthdays are all lined up from March to May. However, a few days after my arrival in Manila, the community quarantine in NCR began and I was unable to buy the necessary ingredients. All my baking essentials were also left in another home.
The cakes in my list are as follows:
- Frasier (for mom)
- Sansrival (for me)
- Banoffee Pie (for nephew #1)
- Chocolate cake with Peanut Butter Frosting (for nephew #2)
Given my lack of equipment and ingredients, I couldn’t do the Frasier and the Sansrival. I could have tried to make a simpler cake for my mom but my sister suggested we try the Double Fromage Matcha Cheesecake from Dean and DeLucca. I’ve encountered that same cheesecake in Japan and I fell in love with it at first sight, then, more so at first bite. More on this cake next time. As for myself, I decided to cancel my birthday, so no cake was required. I’ll gladly turn 32 another time.
On April 7th, my eldest nephew turned 13. As promised, I made him a Banoffee pie. It’s a simple dessert that does not require baking. The only special equipment you need is a pie dish or springform pan or a pan with a removable bottom. It’s easiest to make the banoffee in a pie dish because you don’t need to think about creating a leakproof crust. For this post, I’ll be detailing how to create the banoffee with a leakproof digestive biscuit crust.
The Banoffee has three components: the crust, the filling, and the cream.
I usually start my production with the filling by heating sweetened condensed milk to make dulce de leche. For this post, I will assume you already have the dulce ready. You may check my recipe for the dulce de leche here.
READY IN
TOTAL TIME
1 hr 15 mins
1 hr 15 mins
COURSE
CUISINE
SERVINGS
CALORIES
Dessert
Japanese
10 pax
450 kcal
INGREDIENTS
- 225 g digestive biscuits, crushed
- 100 g butter, melted
- 397 g (1 can) Dulce de Leche
- 3 pcs large bananas, sliced
- 100 g easy whipping cream
- Chocolate shavings or cocoa powder to garnish
INSTRUCTIONS
- Place digestive biscuits in a zip lock and crush with a rolling pin. You can also use a food processor if you have one. Transfer to a bowl and set aside.
- Melt butter in a sauce pan or microwave for 30 seconds
- Pour melted butter over digestive biscuit crumbs and mix with a spatula until evenly distributed.
- Transfer to an 8” pan with removable bottom. Press the crumbs onto the bottom and to the sides. For easier application, you can use a cup with straight sides. Freeze for 1 hour.
- After an hour, remove crust from the freezer. Push the bottom of the pan and transfer frozen crust to a plate or a round 9” cake board.
- Open the can of dulce de leche and pour onto the crust.
- Slice the bananas and layer on top of the dulce de leche. Set Aside.
- Whip the easy whip cream until medium peaks form. Spread on top of the bananas.
- Refrigerate for at least 2 hours before serving.
- To store, keep in the refrigerator for a maximum of 5 days.
KEYWORD
cakes, dessert
